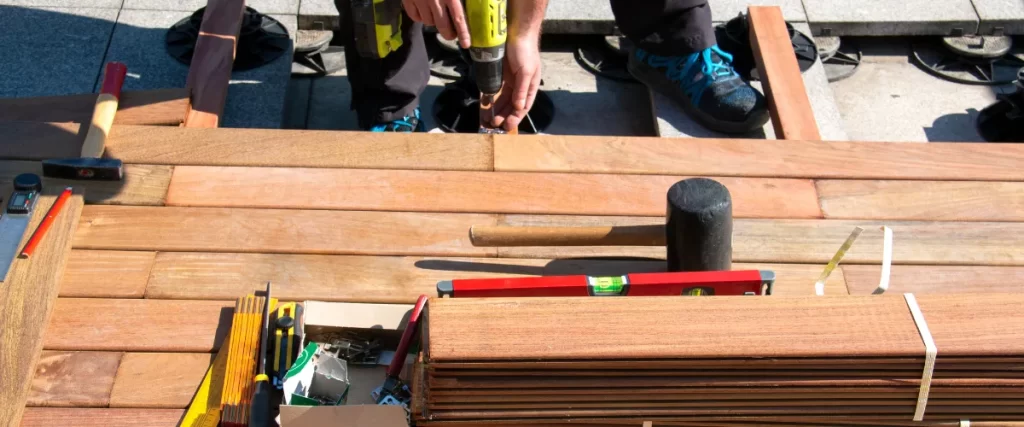
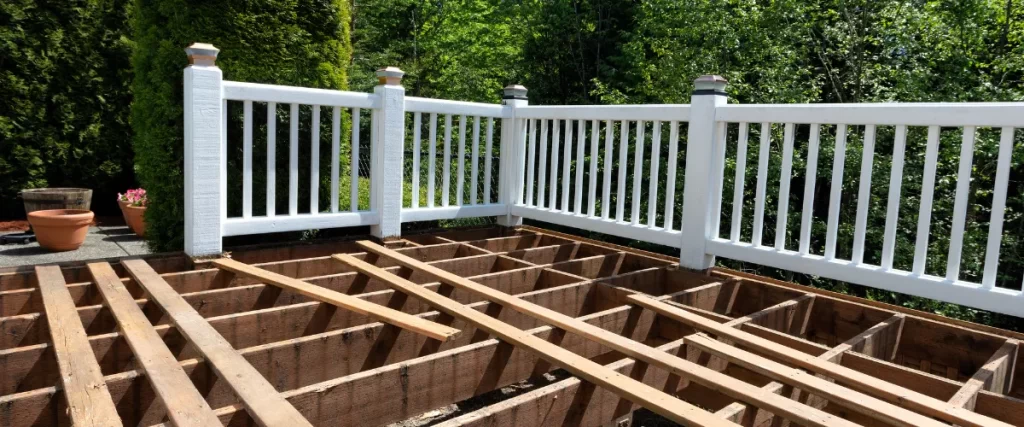
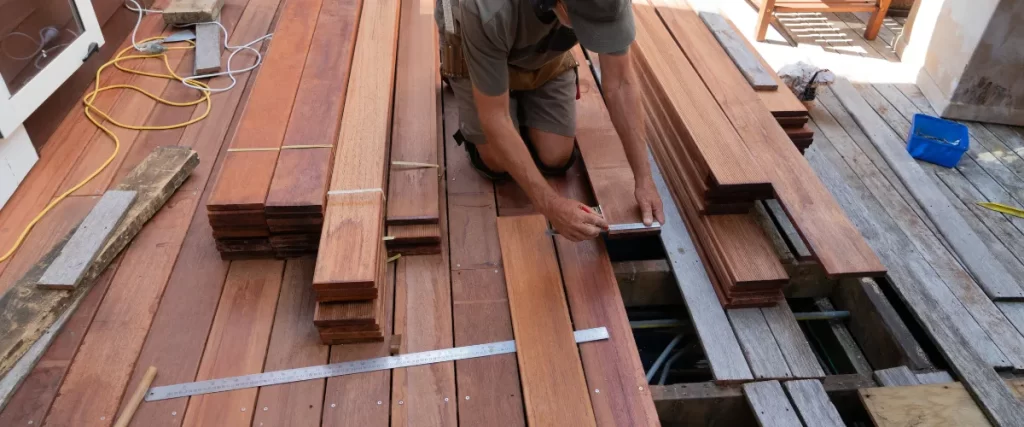
If your deck feels uneven, wobbly, or is visibly sinking in some areas, it’s a sign that something’s wrong beneath the surface. A sinking deck can be unsafe and might even get worse over time if left unaddressed. The good news? You can fix it! In this post, we’ll walk you through the reasons why decks sink, how to identify the problem, and the steps to get it back to being safe and level.

Why Do Decks Sink?
Before jumping into solutions, it’s important to understand why your deck might be sinking. Here are the most common reasons:
- Poor Foundation: If the footings weren’t installed deep enough or properly secured, the deck can start to shift or sink over time.
- Soil Issues: The ground underneath your deck might settle unevenly, especially if the soil wasn’t compacted well during construction.
- Moisture Problems: Water can soften the soil around your deck, leading to instability in the footings.
- Heavy Loads: If your deck is supporting heavy furniture, hot tubs, or other weighty items, it might strain the foundation.
- Age and Wear: Over time, materials break down, and the support structure may weaken.
Signs Your Deck Is Sinking
Here are some clear signs that your deck might need fixing:
- Sloping or Uneven Deck Boards: If you notice the deck slants in one direction, it’s likely sinking on one side.
- Gaps Between Deck and House: If your deck pulls away from the house, it’s a red flag.
- Wobbly Railing or Posts: Loose railings or wobbly support posts may point to deeper structural issues.
- Visible Cracks: Cracks in the concrete footings or shifting in the support beams are clear signs of a problem.
Tools and Materials You’ll Need
Before diving into the repair process, gather these tools and materials:
- Shovel
- Level
- Jack (hydraulic or screw)
- Concrete mix
- Wooden blocks or temporary supports
- Screws and nails
- Drill
- Safety gear (gloves, goggles)
Step 1: Assess the Damage
Take a close look at your deck. Identify the sinking areas and note any damage to the footings, posts, or beams. Use a level to check for uneven surfaces. If the problem seems severe or you’re unsure, it’s always a good idea to call a professional like Deck Bros for an inspection.
Step 2: Remove Any Obstacles
Clear your deck of furniture, plants, or anything heavy. This will make it easier to work and prevent further stress on the structure while you make repairs.
Step 3: Expose the Footings
Using a shovel, dig around the sinking area to expose the concrete footing or support post. This will help you figure out what’s causing the problem—whether it’s loose soil, a broken footing, or a decayed post.
Step 4: Jack Up the Deck
Carefully place a jack under the sinking section of the deck. Use wooden blocks to stabilize the jack and prevent it from sinking into the ground. Slowly lift the deck until it’s level. Be sure to go slowly to avoid damaging the structure.

Step 5: Reinforce or Replace Footings
If the footings are the issue, you’ll need to fix or replace them:
- Reinforce Existing Footings: Pour additional concrete around the old footing for extra stability.
- Replace Footings: If the footing is cracked or broken, remove it and install a new one. Dig at least 36 inches deep (or deeper, depending on local building codes) and pour fresh concrete. Use a post anchor to secure the deck post to the new footing.
Step 5.1 Replace or Repair Support Posts
If the issue isn’t just the footing but also the support post itself, you’ll need to address that before moving forward. Here’s what to do:
- Inspect the Post: Look for signs of rot, cracking, or splitting. Wood posts that have been exposed to moisture over time are prone to these issues, especially if they weren’t treated properly during installation.
- Cut the Post to Size: If the post is damaged and needs replacement, measure the length of the old post and cut a new one from pressure-treated lumber. Using treated wood is important to ensure durability against weather and moisture.
- Install the New Post: With the deck lifted using the jack, place the new post securely on the repaired or replaced footing. Use metal connectors or brackets to anchor it firmly to the footing and the beam above.
- Reinforce with Additional Braces: If your deck is in a high-traffic area or supports heavy loads, consider adding diagonal bracing for extra stability. These braces connect the post to the beam or joist at an angle, preventing swaying or movement over time.
Step 5.2: Address Additional Deck Components
While you’re already working on fixing the sinking issue, it’s a good time to inspect and address other deck components that may need attention. Here’s a quick checklist:
- Deck Joists: Look for sagging or cracked joists and replace them as needed.
- Hardware: Tighten or replace rusted nails, screws, or bolts holding the deck together.
- Flashing: Ensure the flashing where the deck meets the house is intact and watertight to prevent future moisture issues.
Step 6: Compact the Soil
If loose or shifting soil is the culprit, compact it thoroughly before resetting the footing. This will provide a stronger base and help prevent future sinking.
Step 7: Reattach and Secure
Once the footing or post is secure, lower the deck gently back into place. Use screws or nails to reattach the beams and joists to the supports. Double-check that everything is tight and secure.
Step 8: Check for Level and Stability
Use your level again to make sure the deck is even. Walk across the deck and test for any wobbly spots. If everything feels sturdy and looks right, you’re good to go!
Prevent Future Sinking
Now that your deck is back in shape, you’ll want to keep it that way. Here are some tips to prevent future problems:
- Regular Inspections: Check your deck at least once a year for signs of sinking or structural damage.
- Keep It Dry: Ensure proper drainage around your deck to prevent water from pooling and weakening the soil.
- Don’t Overload It: Avoid placing overly heavy items on your deck, especially near the edges.
- Use High-Quality Materials: When replacing parts of your deck, invest in durable materials that can withstand weather and wear.
FAQs About Fixing a Sinking Deck
1. How do I know if I should call a professional?
If your deck has severe sinking or you notice extensive damage to the footings or beams, it’s best to hire a professional to ensure the repair is done safely and correctly.
2. How much does it cost to fix a sinking deck?
Costs vary depending on the severity of the problem, but repairs typically range from $500 to $5,000. Replacing footings or posts can add to the cost.
3. Can I prevent my deck from sinking in the future?
Yes! Proper installation, regular maintenance, and ensuring good drainage around your deck are key to preventing sinking.
4. What’s the best material for deck footings?
Concrete is the most durable and reliable material for deck footings, especially when poured deep into the ground.

Let Deck Bros Help You Fix Your Deck
Fixing a sinking deck doesn’t have to be overwhelming, but it’s important to address the problem quickly to ensure your deck stays safe and functional. If you’re not sure where to start or need expert help, Deck Bros is here for you. Our experienced team specializes in deck repairs, from leveling and reinforcing to full structural replacements.
Contact us for a free consultation at (402) 369-5724, and let’s start your deck building project today!
