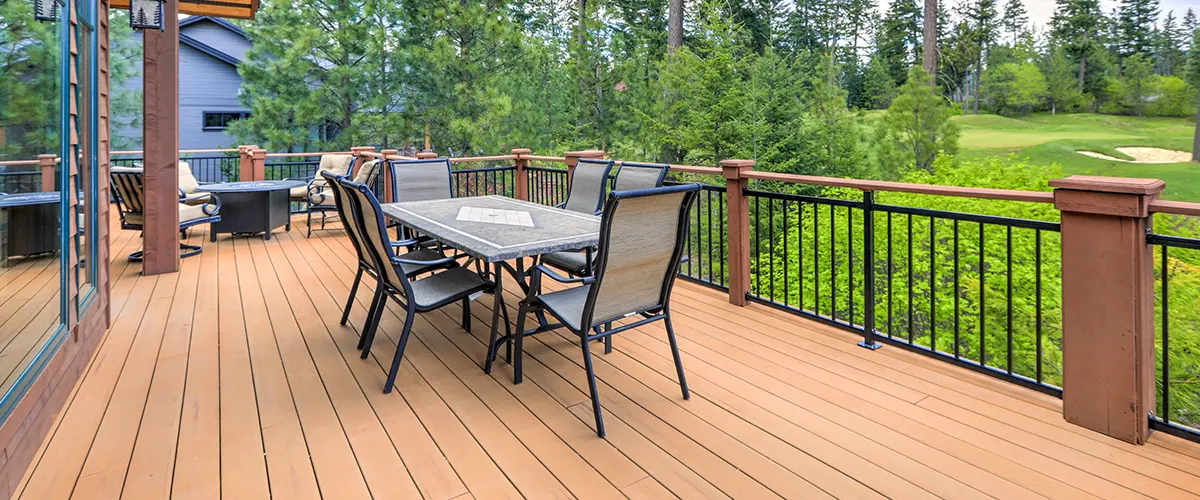
Installing a deck is a significant project that pays off the moment it’s finished. The best wood deck installation improves your contracting experience and allows you to enjoy your new outdoor space without any setbacks.
A decking project involves a lot of planning, preparation, and design. If you’re thinking about having one installed this year, it’s best if you know everything that’ll go into it.
In this post, we’ll outline everything you need to know about the best wood deck installation. You’ll find everything there is to know, from planning and design to construction and maintenance.
Keep reading and discover how to get the best deck in town!
Wood Deck Installation Materials
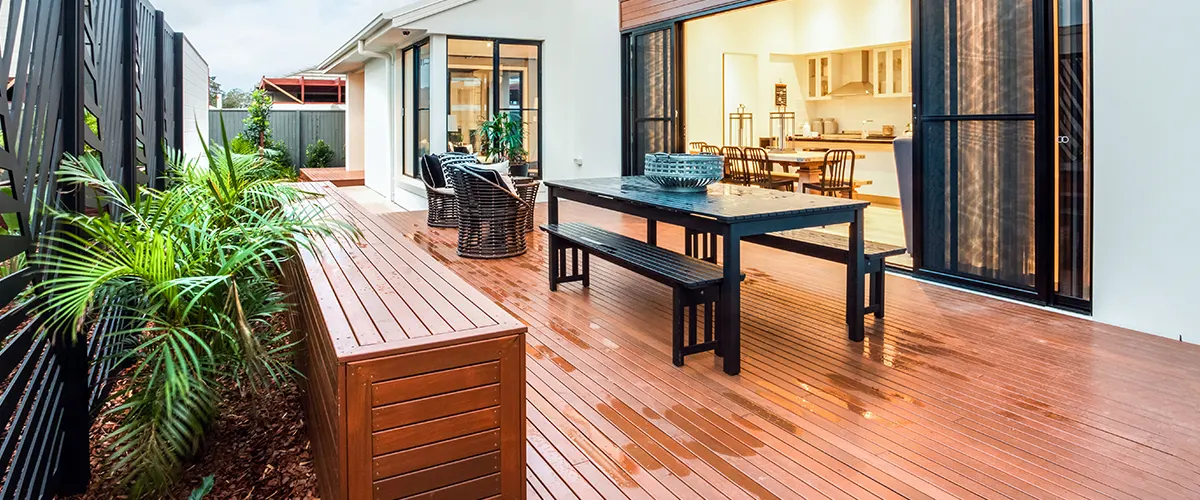
The materials you’ll need for a deck installation will vary depending on the design and size of your deck. However, some basic materials are always needed. In this guide, we will focus on wood deck installation specifically.
- Wooden boards or planks
- Nails, deck screws, or bolts
- Lumber for framing and railing posts
- Deck railings
- Deck fasteners
- Floor joists and rim joist
Choosing The Right Deck Size
The size of your deck will depend on your needs and budget. It’s important to keep in mind that the bigger the deck, the more expensive it will be.
Typically, a smaller deck surface is around three feet by six feet, while larger decks can measure up to eight feet by twelve feet.
The best way to get an idea of what size would work for you and your family is to draw up a design of what you want the deck to look like.
Another option is to consult with a deck installer to ensure you’re getting the best fit for your home.
How Long Will It Take To Build A Deck?
The time needed for your deck project will depend entirely on the size and design of the deck.
Small decks are usually completed in around one to two days, while larger ones can take up to weeks.
The best way to get an estimate is by asking for quotes from different companies or contacting your local county office to see if they have any legal restrictions on time limits.
How Much Does wood Deck Installation Cost?
The final price can get quite hefty if you want the best deck installation. The costs will depend on many different factors, such as the size and type of your deck, permits, and materials.
The average price range of building a new wood deck in the United States can be anywhere between $4k and $40k. Including materials and labor, a standard deck will cost roughly $30-$60 per square foot.
However, many different factors will affect the price of installation. These include:
- The size and the design you want for your outdoor space
- What kind of materials you want for your project
- The further away you are from a metropolitan area, the more expensive the costs
- Summer is the most expensive time of the year to build a deck
- Adding stairs, railings, planters, and other features will increase the price

What Is The Process Of Installing A Deck?
- Plan your deck - This involves deciding on your deck's size, shape, and design. You'll also need to decide on the materials and the type of deck (e.g., wood, composite, etc.).
- Prepare the site - This includes leveling the ground and removing any obstructions.
- Frame the deck - This is where the basic structure of the deck is built.
- Install the decking - This is where you'll put down the actual surface of the deck.
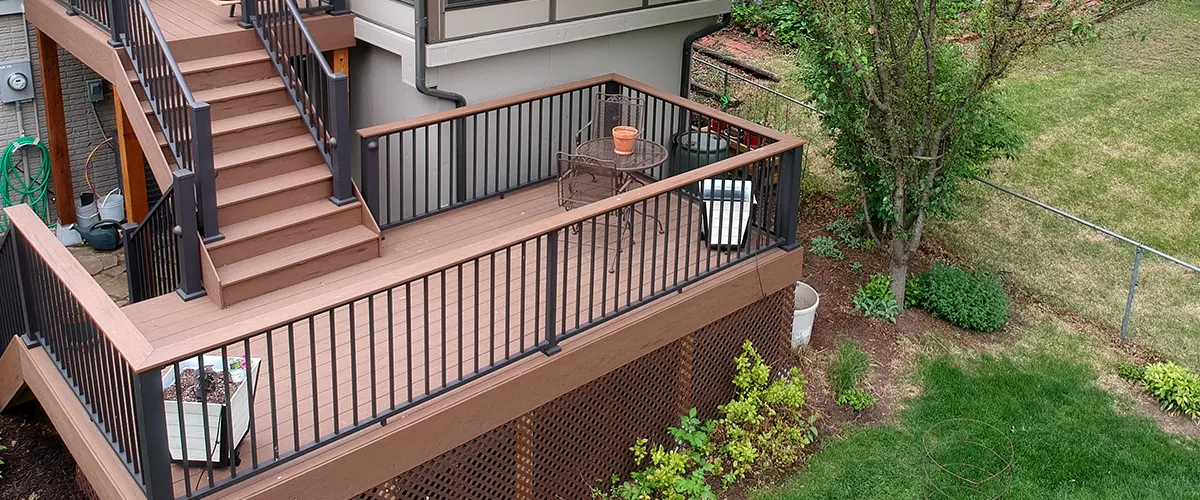
- Install railings and stairs (if needed) - Although this step is optional, railings increase the safety of your deck and stairs its accesibility.
- Staining or painting (if you choose to) - The final step will involve either staining the wood if it's not already finished or applying paint to the surface of your deck.
The Best wood Deck Installation Comes With No Mistakes
There’s no room for mistakes when it comes to a decking project. You’ll have to make sure your deck is safe and sound for you and your loved ones.
At DeckBros, we take care of everything from city regulations in Omaha, permits, and inspections. You’ll have a walkthrough with our experts at the end of your project to ensure everything is structurally sound to host the best family gatherings!
When Installing wood Deck Boards
Another mistake people often make is using the wrong type of screws or nails for their deck boards. Make sure to use galvanized screws and nails made explicitly for outdoor use.
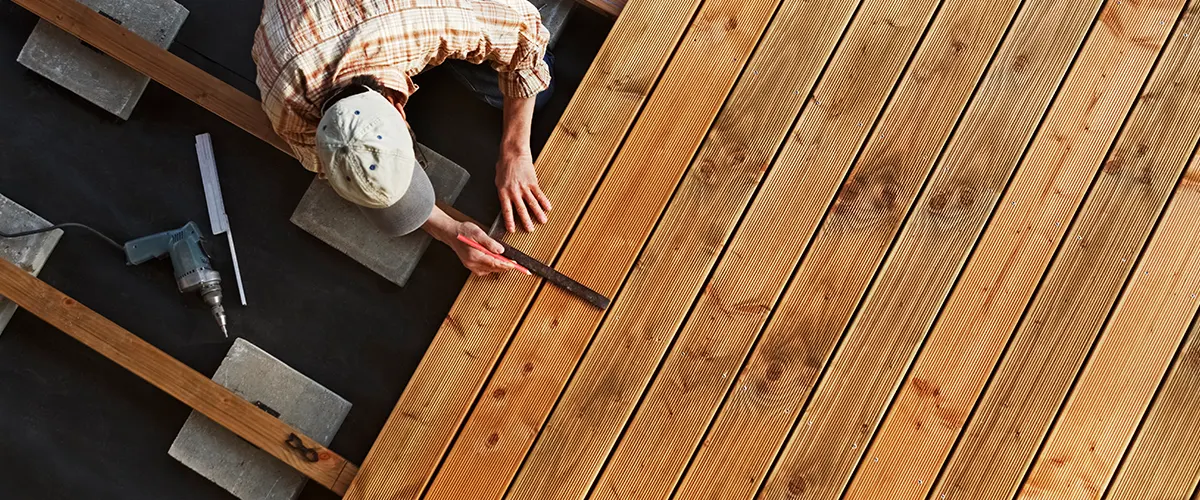
Ensure that your deck boards are straight and level, as this will ensure a pleasing look of your finished deck. Ensure the first board is properly installed before starting working on the next deck board.
Remember that the first row of boards will determine if the others are evenly spaced.
Contractors will have to install decking boards with patience. Don’t allow any family handyman to offer his help, as this project requires a great deal of knowledge and skill.
Other Mistakes To Be Aware Of
Many people also forget to consider the finishing touches like deck stairs, railings, and planters. These small details can add up quickly, so it’s important to budget for them when planning your wood deck installation.
Make sure the ends of the boards have straight cuts; otherwise, the edge of the deck will not be even.
One of the most common mistakes people make when they install wood decking is not taking into account the slope of the ground. It’s essential to level the ground before framing the deck, or it will be uneven and wobble.
The Care And Maintenance Of A Deck
Once your deck is installed, you’ll need to take a few steps to keep it looking its best.
First, make sure to clean it regularly. You can do it with a garden hose and mild soap and water mixture. You can also use other cleaners if necessary.
Second, seal the wood every few years. A good sealer protects your deck from the elements and keeps it looking new. Although maintenance will vary depending on the climate in your area, you should reapply sealant every 1-3 years.
Third, add a coat of paint or stain to the deck every few years. New paint or stain keeps your space look fresh and new.
And lastly, replace any worn-out boards or railing as needed. Healthy boards keep your deck strong and sturdy.
If you follow these steps, your deck should last for many years to come. Just make sure you choose a professional installer to give it a beautiful, one-of-a-kind look that you’ll love for years to come!
Consider Weather Patterns
The type of sealant you choose will also depend on the weather patterns in your area.
If your deck is frequently exposed to sunlight, moisture, or other weather conditions, it is crucial to treat it with a good sealant.
Seal your deck from:
- Rain, so it can withstand moisture
- Sun, so the UV rays don't damage it
- Dryness, so the boards are dust and dirt-free
A protective layer on your deck will keep mold away from your decking material so it won’t rot. A good sealer keeps the wood healthy and doesn’t allow it to dry and crack. Besides, it will cover every little gap where dust and debris can build up, so you won’t spend much time cleaning your deck.
Types Of Sealers
Water-based Sealant
Oil-based Sealant
Shellac
The Best wood Deck Installation Comes With The Right Contractor
When choosing a contractor for your wood deck installation, it’s important to do your research. Ask friends and family for referrals, and look for reviews online. You’ll also want to make sure the contractor is licensed and insured.
Once you’ve narrowed down your options, it’s important to meet with the contractors in person and ask them a few questions. Here are some things to keep in mind:
- Make sure you choose a professional specialized in the type of decking that you want
- Ask your contractor for a timeline of your project
- Inquire about what are the best materials to use for your particular situation
- Make sure you find from them the best way to maintain your decking surface
- Ensure you get an accurate quote so you know how much to budget for your upcoming project
Types Of Decks
Wood Decking
Wood decking is one of the most popular types of decking, and homeowners often choose it because of its natural look. It is easy to repair and can be stained or sealed to protect it from the elements.
There are many different types of wood decking, so it’s important to choose the right one for your needs.
Cedar
The most common type of wood decking is cedar, a softwood. Cedar is easy to work with, and it has a natural look that many people find appealing.
Cedar decking requires minimal maintenance and can be sealed or stained to protect it from the elements.
Hardwoods
Hardwoods, such as oak or hickory, are also popular choices for wood decking. They are more expensive than cedar, but they are also more durable.
Hardwoods can withstand more abuse than cedar, and they are less likely to warp or rot.
Teak
If you’re looking for a more exotic look, you can also choose teak. Teak is a tropical hardwood that has a high oil content.
Because of its oil content, it’s resistant to water and insects. However, it needs to be regularly oiled to maintain its appearance.
Composite Decking
Composite decking is a type of decking made from wood and plastic. It’s growing in popularity because it is durable and requires minimal maintenance.
Composite decking is also resistant to water and insects and comes in various colors and styles.
However, composite decking can be more expensive than other types of decking. It’s important to weigh the pros and cons before making a decision.
Wood / Composite Hybrid Decking
You can choose wood and composite hybrid decking if you want to get the best of both worlds for your decking project.
This type of decking offers wood’s natural look and feel, but it is more durable than traditional wood decking.
It also comes in various colors and styles and requires very little maintenance for upkeep.
Conclusion
One of the best things about having a deck is that it can improve your life in several ways.
A wood deck increases your home’s curb appeal and value. It’s a great place to relax and spend time with family and friends over a barbecue. Decks are perfect for hosting parties or family gatherings and can even be used to cook or dine in a different environment than your kitchen.
However, deck installation can be a troublesome project that requires the expertise of a professional decking contractor.
Here at DeckBros, we value your time and home, so we strive to give you the best deck installation in Omaha. Enjoy a straightforward process that ensures a unique experience and the best end-product in the neighborhood.
Get in touch today and discover the benefits of having an outdoor space just for yourself!
