Building a raised deck is a great way to add some extra living space to your home – and it’s not as difficult as you might think! In this blog post, we’ll give you a basic overview of the steps involved in building a raised deck, including key insights on how to build a raised deck effectively.
We’ll also provide some tips and tricks to help make the process go more smoothly. So read on for all the info you need to get started on your very own raised deck project! If you have ever wondered how to build a raised deck, this guide will be your go-to resource.
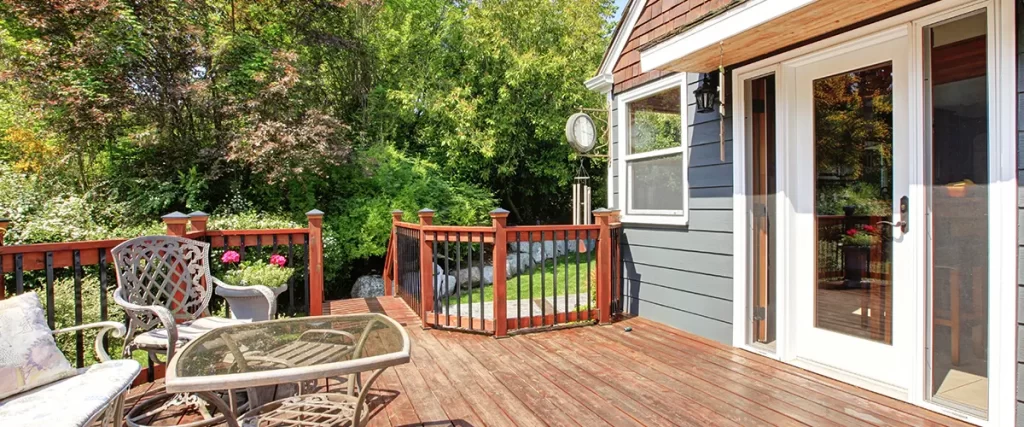
What You Need To Build A Raised Deck
- Posthole digger
- Hammer
- Level
- Tape measure
- Chisel
- Square
- Circular saw
- Drill
- Jigsaw
- Stepladder
- Carpenter's level
- Metal joist hangers
- Wheelbarrow
- Concrete mixer
- Measuring bucket
- Shovels
- Deck Screws
- Paint or sealant (optional)
Planning Your Deck Design
Before you start construction on your raised deck, it’s a good idea to plan out the design. This will help make the process go more smoothly and ensure that the finished deck looks the way you want it to. If you’re wondering how to build a raised deck, planning is a crucial first step.
There are a few things to consider when planning your deck design. First, you’ll need to decide on the size and shape of the deck. You’ll also need to think about what type of materials you want to use and the type of railing system you want. Once you have a basic idea of what you want, you can start sketching out some rough plans.
If you’re not sure how to get started, there are plenty of online resources that can help. There are also a number of deck-building software programs available that can help you create a detailed plan for your raised deck. If you’re not confident in your carpentry skills, it might be a good idea to hire a professional to help with the design and construction of your raised deck.
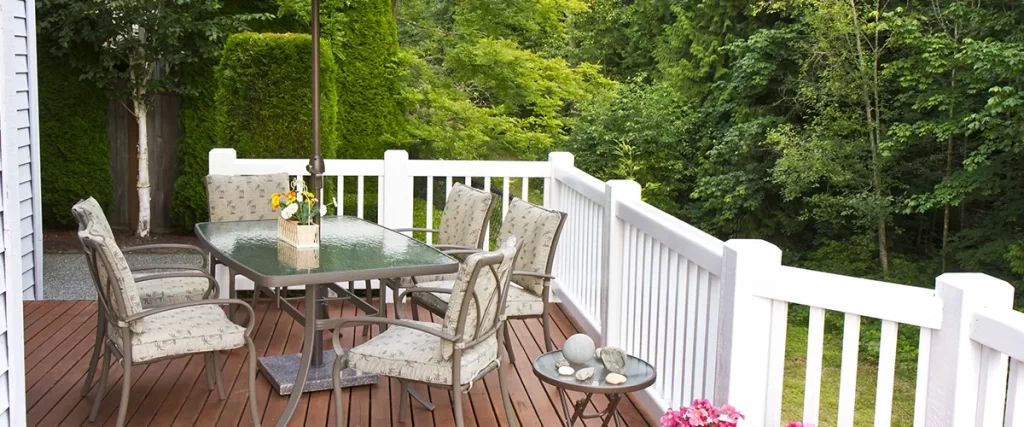
Building The Foundation
The first step in building your raised deck is to build the foundation. This involves digging holes for your posts and then pouring concrete into the holes. If you’re unsure how to build a raised deck, starting with a solid foundation is essential.
When digging the post holes, be sure to go beyond the frost line. This helps ensure that your deck remains stable during cold weather conditions. Once you have dug the post holes, it’s time to pour the concrete. Be sure to follow the instructions on the concrete mix, and use a level when pouring so that the foundation is even.
Once the concrete has set, it’s time to install the ledger. The ledger is a board that attaches to your house and provides support for the raised deck. It’s important to install the ledger properly, as it is the main support for the deck.
There are a few different ways to attach a ledger to your house. The most common way is to use metal connectors that bolt into the concrete foundation. Another option is to use wood screws or nails to attach the ledger directly to the siding of your house.
Installing Deck Posts
Once the ledger is installed, it’s time to install the deck posts. The best way to do this is to use steel connectors that attach directly to the concrete foundation. This will provide extra support for your raised deck and is a crucial step if you’re learning how to build a raised deck.
The next step is to cut the posts to size. You can use a carpenter’s level or a square as a guide to making sure the posts are cut evenly. Once the posts are cut, it’s time to set them in place and attach the beam. The beam is what will hold up the deck boards, so it’s important to make sure that it is installed correctly.
The best way to attach the beam is by using galvanized joist hanger nails. These nails are specially designed to hold up heavy loads, and they will provide extra support for your raised deck.
Installing Deck Boards
Installing decking boards is a relatively easy process, but it’s important to take your time and make sure everything is done correctly. If you’re wondering how to build a raised deck, the process of installing the decking boards is a key step.
The first step is to lay out the boards in the desired pattern. Once you have decided on a pattern, use a chalk line or a carpenter’s level to mark the lines. Next, use a power drill to pre-drill holes for the screws.
This will help prevent the boards from splitting. Finally, screw the boards in place using deck screws. Be sure to drive the screws in at a slight angle to hold better.
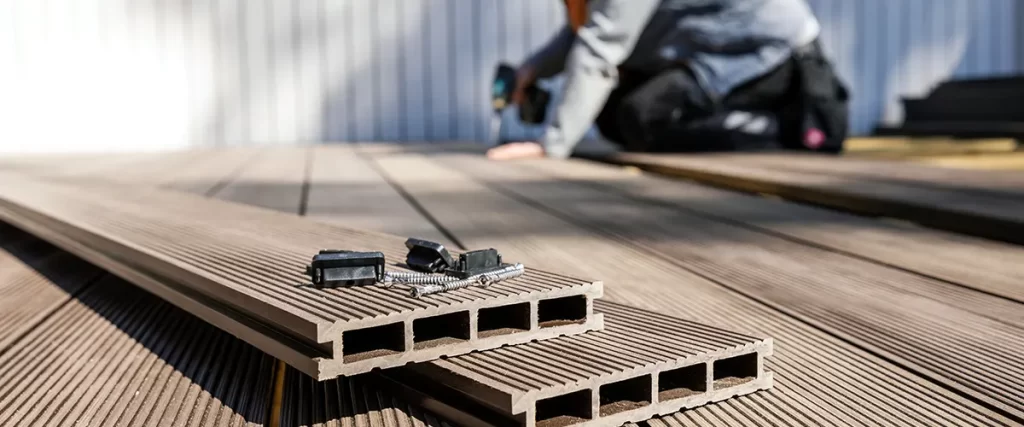
Building The Railing
The final step in building your raised deck is to install the railing system. This can be a daunting task, but it doesn’t have to be difficult if you follow some simple tips.
The first step is to decide on the height of your railing. The standard height for a raised deck railing is 36 inches, but you can adjust this depending on your needs.
Once you have decided on the height of the railing, it’s time to build the frame. The best way to do this is to use a rail post connector. This will allow you to easily attach the posts to the railing frame.
Once the frame is built, it’s time to install the posts. Be sure to use proper anchors to secure them in place. You can also use metal post caps to give your raised deck railing a finished look.
Finally, be sure to test the railing to make sure that it is safe and meets your needs. It’s better to be safe than sorry!
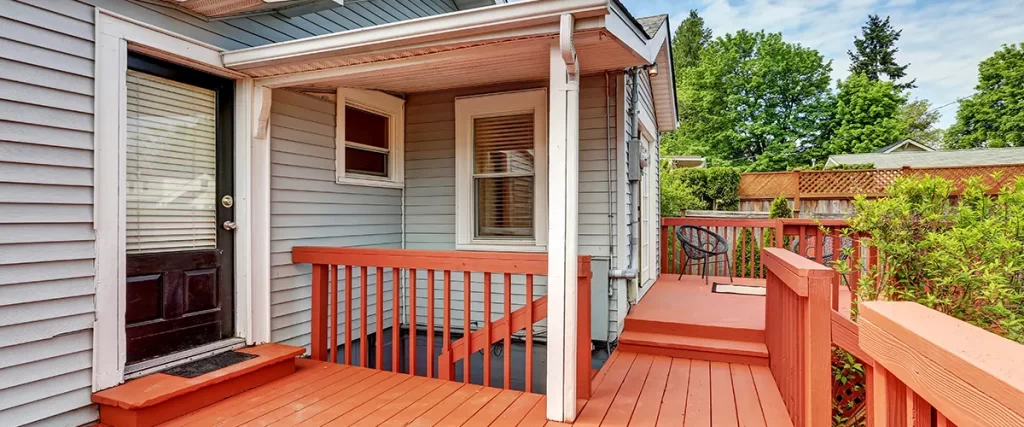
Installing Stairs
When building a raised deck, it’s important to include a set of stairs for easy access. The stairs should be wide enough to accommodate multiple people, and they should be installed securely to prevent accidents. A functional deck is a safe deck, after all.
There are a few different ways to install stairs for a raised deck. The most common way is to use a series of treated lumber risers and stringers. A stair riser is a board that makes up the steps, and the stringers are the boards that support the risers.
It’s important to use treated lumber for the stairs to resist rot and decay. You can find treated lumber at most home improvement stores.
When installing the stairs, be sure to use proper anchors to secure them in place. You should also use a handrail for extra safety.
Finishing Touches: Plants And Flowers
Adding plants or flowers to your raised deck is a great way to add personality and style. There are a variety of plants and flowers that can be used, so you can choose the ones that best fit your needs and style.
Be sure to choose plants that are drought-tolerant, as they will be less likely to require regular watering. You can also choose plants that are resistant to pests and diseases.
If you want to add flowers to your raised deck, be sure to choose a variety of colors and textures. This will create a beautiful, eye-catching display.
You can either plant the flowers in pots or in the ground. If you plant them in pots, be sure to use a sturdy pot that won’t blow over in the wind.
You can also use raised decking to create a raised garden bed. This is a great way to grow your own vegetables and herbs, and it’s easy to do. Just be sure to use a sturdy material like treated lumber for the raised bed.
Conclusion
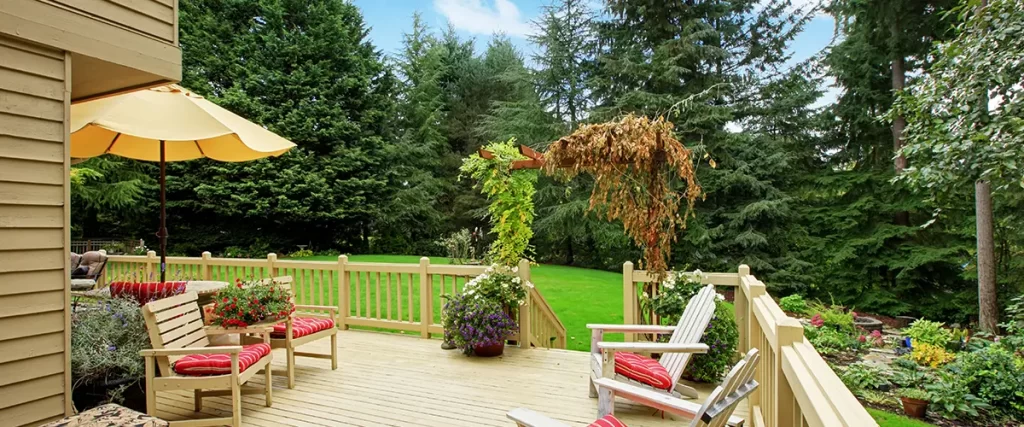
Having a raised deck is a perfect way to upgrade your outdoor living space. Your own deck can give you the space you need to enjoy the fresh air and spend moments of tranquility with your loved ones. If you’re considering how to build a raised deck but feel that a DIY project might not be your cup of tea, professional help is available.
Building a deck can be a fun and rewarding project, but it’s important to plan ahead so that the finished product is safe and looks great.If you live in Omaha and you want expert deck building services, reach out to as at (402) 369-5724.
