The Best Deck Replacement Services in Omaha, NE
Enjoy a brand new deck with our deck replacement services in Omaha Metro, Papillion, La Vista, Bellevue, and more of NE.
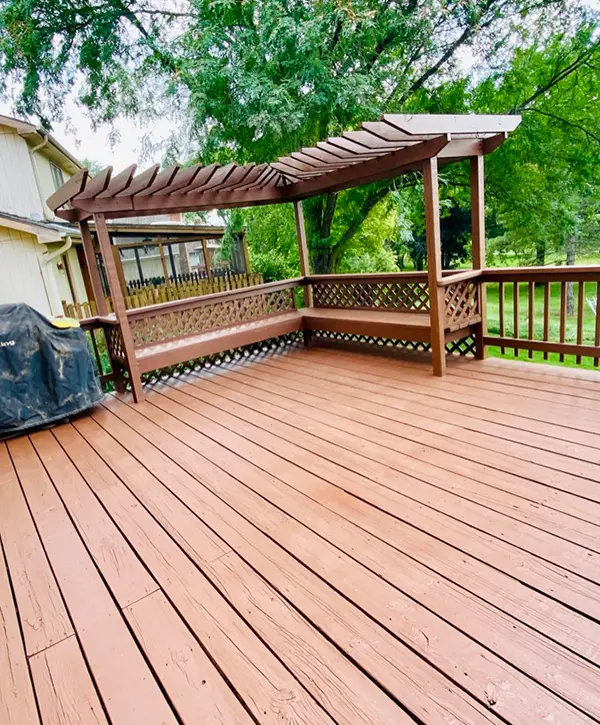
Is your deck starting to show its age? Are you experiencing structural issues or unsightly wear and tear?
At Deck Bros, we understand the importance of having a beautiful, safe, and functional outdoor space for your home. If you’re considering deck replacement, you’ve come to the right place.
Over time, decks endure the relentless forces of nature, daily use, and the test of time. Harsh weather conditions, pests, and general wear can take a toll on even the sturdiest of decks.
That’s where we come in. Our team of experienced professionals specializes in deck replacement, offering you a seamless and hassle-free solution to transform your outdoor area.
With our reliable, hard-working decking team, we’re ready to replace old decks and make them safe and durable once again. Get in touch for a free quote.
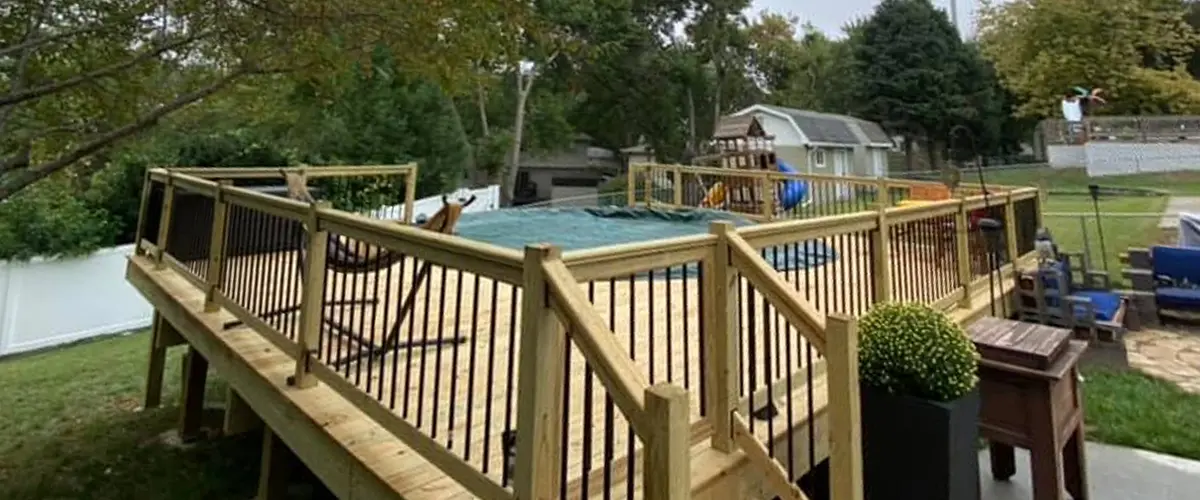
- Enhanced safety and structural integrity
- Increased home value
- Personalized design and style
- Improved functionality and space usage
- Longevity and low maintenance
- Peace of mind with warranties
Signs Your Deck Needs Replacing
Decks are exposed to various elements and undergo wear and tear over the years. While regular maintenance can prolong their lifespan, there comes a time when deck replacement becomes necessary.
These signs are meant to indicate when it’s time to get your deck replaced.
Structural Instability
If you notice significant structural issues such as sagging, rotting, or loose boards, it’s a clear indication that your deck’s stability has been compromised. Structural instability poses a safety risk to you and your loved ones. When these problems arise, it’s best to consult professionals like Deck Bros to assess the condition of your deck and determine if replacement is necessary.
Age and Wear
Frequent Repairs
Outdated Functionality
If your deck no longer meets your functional needs or lacks the aesthetic appeal you desire, it might be time for an upgrade. Deck replacement offers an opportunity to reimagine your outdoor space and create a deck that aligns with your current lifestyle. Our team at Deck Bros can help bring your vision to life.
Pervasive Rot or Decay
Safety Hazards
Ready to transform your outdoor space with a deck replacement? Contact Deck Bros today and let our knowledgeable team bring your vision to life.
A Word From Our Past Customers
T
Travis Thomas
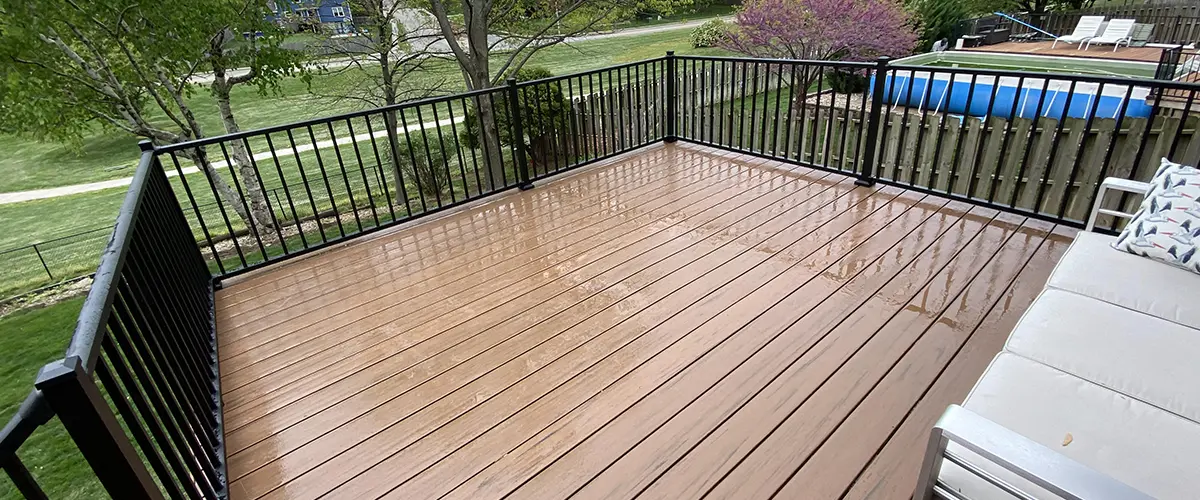
They did a excellent job. Crew was professional. I live 2 hours from Omaha and they took the job without that being an issue. Our deck turned out beautiful.
We have the best looking deck in town. I am so glad that we chose Deck Brothers. If you want quality 
J
Joseph King
Great product, great price, and great service. The Deckbros exceeded my expectations and I couldn’t be happier.
I wish I had 2 decks I needed to be built. 6/5 would recommend to anyone looking for an amazing deck. Thanks guys!!
Benefits of Deck Replacement
At Deck Bros, we understand that your deck is more than just an outdoor space; it’s a place where you create memories with family and friends.
If your deck is showing signs of wear and tear or has structural issues, it might be time to consider deck replacement. Here are six key benefits of choosing deck replacement.
- Enhanced Safety & Structural Integrity
Safety should always be a top priority, especially when it comes to your deck. Over time, decks can become weakened by weather exposure, pests, and general wear. By opting for deck replacement, you ensure that your new deck will be structurally sound and safe for everyone who enjoys it.
- Improved Functionality & Space Utilization
Is your current deck lacking in functionality? A deck replacement offers an opportunity to rethink the layout and optimize the utilization of your outdoor space. Whether you need additional seating areas, built-in features, or improved accessibility, our team will work with you to create a deck design that maximizes functionality.
- Personalized Design & Style
- Increased Home Value
- Longevity & Low Maintenance
- Peace of Mind With Warranty
Our friendly team will handle all the details, from obtaining necessary permits to ensuring a smooth installation process.
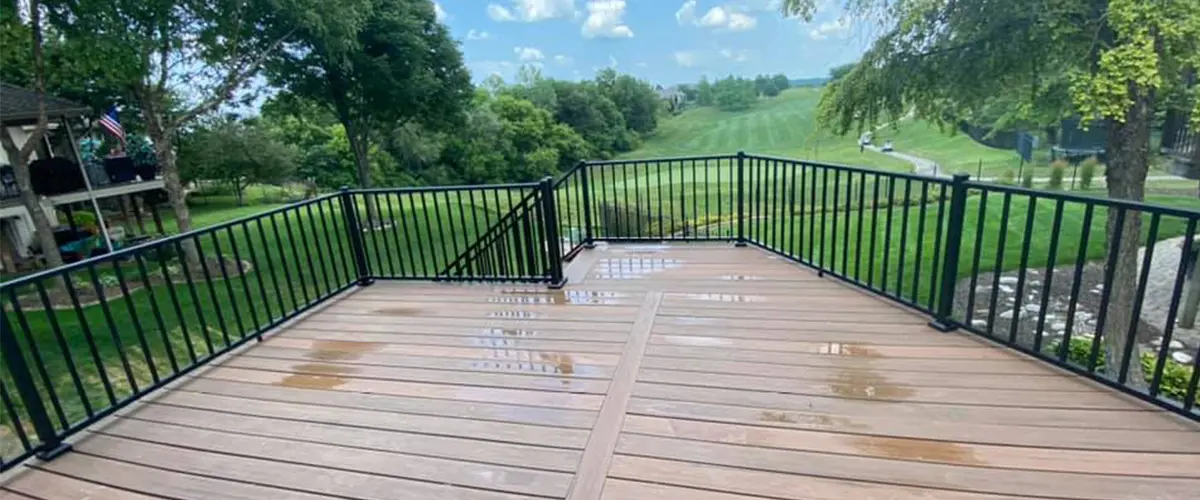
Our Deck Replacement Process In 6 Simple Steps
At Deck Bros, we strive to provide our valued customers a seamless and stress-free deck replacement experience. When you choose us for your deck replacement project, here are the six steps you can expect.
1. Consultation and Assessment
2. Design and Material Selection
3. Planning and Preparation
4. Old Deck Removal
5. Expert Installation and Finishing
6. Final Inspection and Satisfaction
We are committed to providing exceptional service, superior craftsmanship, and a beautiful deck that enhances your outdoor space, so get in touch for a quote!
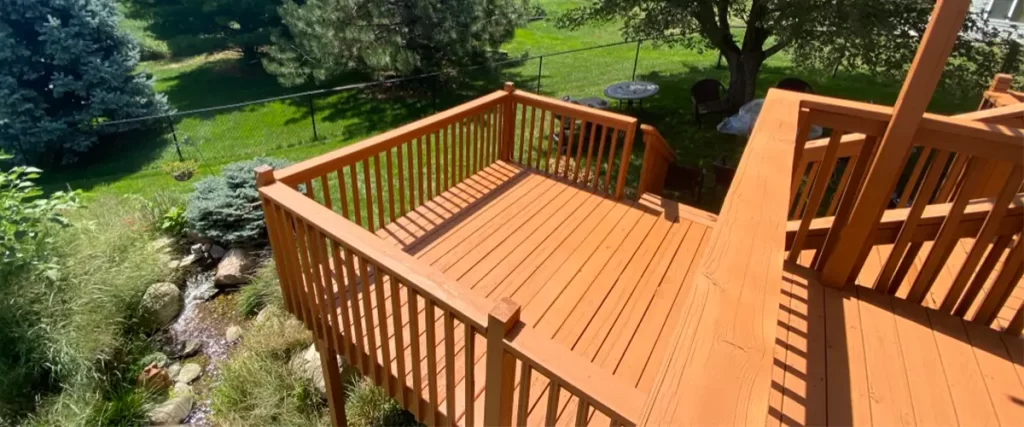
Deck Replacement FAQs
A ledger board is a horizontal piece of lumber attached to the exterior of your house, acting as the primary support for your deck. It’s crucial because it provides structural stability and connects your deck to your home, ensuring a secure and safe deck structure during deck replacement.
Work With The Best Deck Replacement Company In NE

Your dream deck is just a call away. Our friendly and experienced professionals are ready to bring your vision to life and create a deck that exceeds your expectations.
Reach out to Deck Bros now and take the first step towards a remarkable deck transformation!
