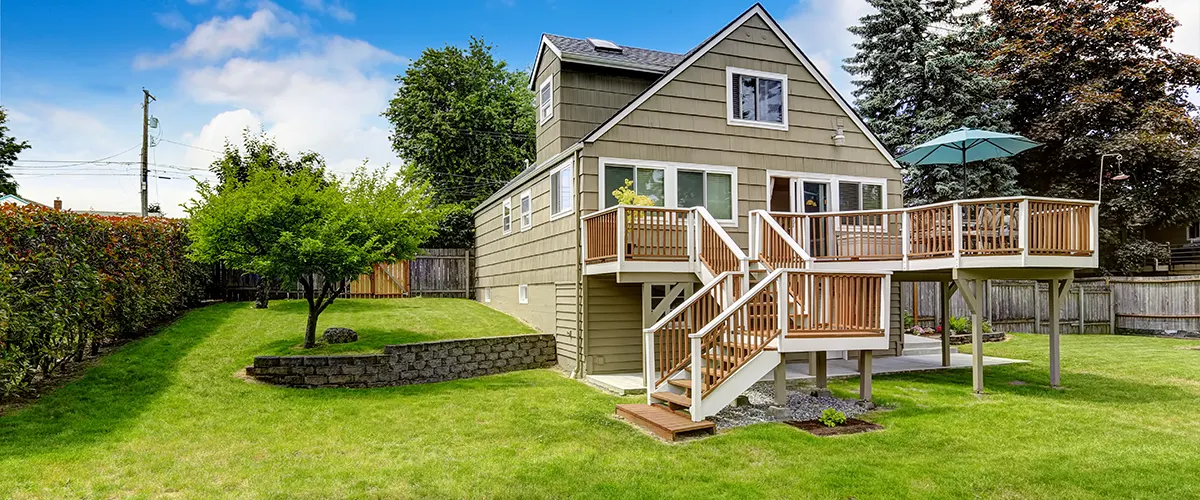
Deck construction is a popular home improvement project that quickly increases the quality of your life at home.
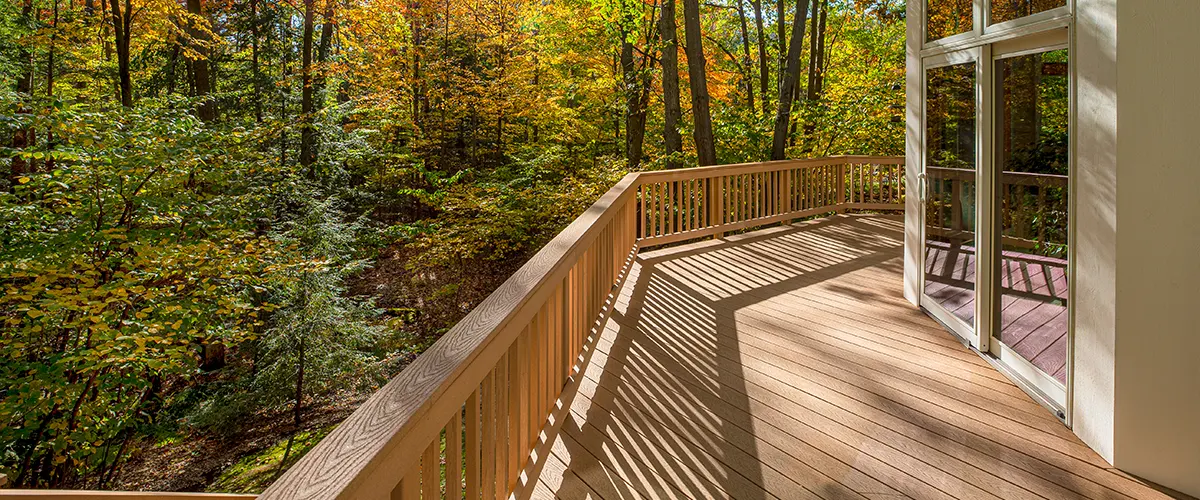
Building a deck and attaching it to your main structure adds immense value to your home and provides a great space for outdoor entertaining. Family gatherings will feel better on a spacious deck where everyone can enjoy the sweet smell of steak you cook.
However, if you’re planning to have your deck attached to house, there are a few things you need to know to make it safe for your loved ones.
In this blog post, we’ll discuss the basics of attaching decking to your house. You’ll learn what materials you’ll need and how professionals do it properly.
Keep reading and discover how attaching your decking to the house will make life easier for you and your family!

Why A Correctly Attached Decking Is Crucial
No matter if you’re installing a brand new deck or an existing one, the secret to a deck attached to house that will last for many years to come is rather simple.
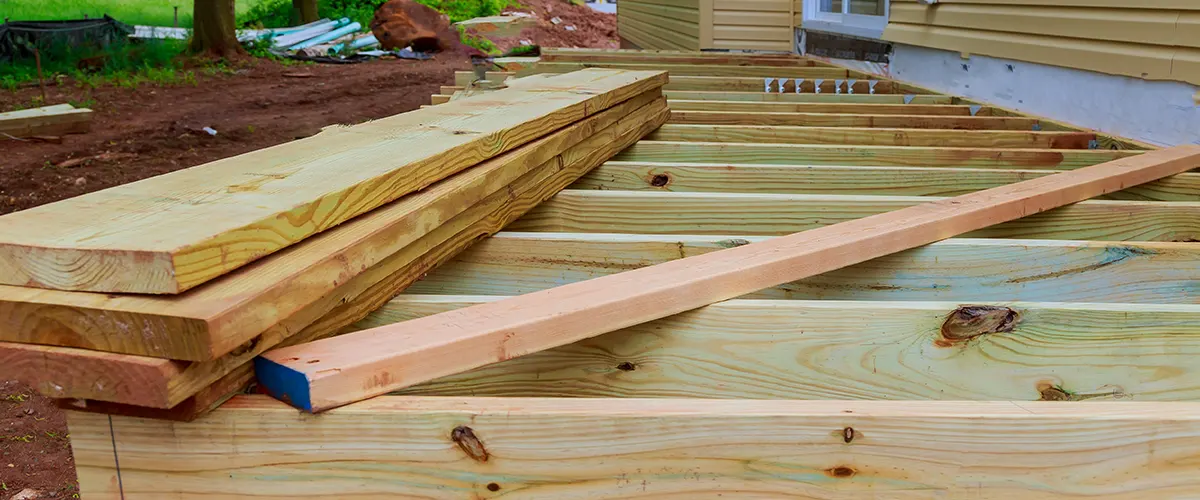
- Ensure the wood you use is treated and sealed, so water or pests can't damage it.
- Ensure the ledger board that carries the supporting floor joists is properly anchored to the house.
- Use strong bolts instead of nails to avoid costly mistakes when attaching your deck.
Tools You'll Need For A Succesful Deck Attached To House Project
- Sledgehammer
- Circular Saw
- Drill
- Impact Wrench
- Hammer Drill
- Masonry Bit - 1/2 inch
If You're Installing A New Deck
- If you're installing a new deck and it will replace a set of outdoor stairs, remove the old flashing from behind the ledger board.
- Inspect the exterior sheathing for rot or other damage, and if necessary, repair the sheathing before continuing.
- Cover the sheathing with flexible adhesive-backed flashing to prevent water penetration.
- Apply a second layer of sheathing over the first as a counterflashing.
- Install metal L-brackets to the end of the rim joists with hanger screws.
- Set the ends of the rim joists against the house and screw the L-brackets into the sheathing.
- Install the ledger between the rim joists and fasten it to the house with strong bolts to ensure a secure deck surface.

If You're Reattaching An Existing Deck
- Drill a ½-inch-diameter screw-shank clearance hole through the ledger board, but not into the sill plate. Position the hole 3 inches below the upper edge of the ledger.
- Place a ½-inch x 10-inch galvanized lag screw with washer into the hole, then use an impact wrench to drive the screw into the sill plate. Repeat to install one lag screw in each joist bay.
- If there's a gap between the ledger and the house foundation, use filler pieces of pressure-treated wood to fit into the space. This will prevent the ledger from splitting when bolted into the foundation.
- Use a hammer drill fitted with a ½-inch-diameter masonry bit to bore holes through the ledger, in through the filler pieces, and into the foundation; then use a hammer to tap ½-inch x 10-inch masonry wedge anchors into the holes.
- Tighten the hex nut on the wedge anchor with the impact wrench. Continue to install masonry anchors, spacing them 36 to 48 inches apart.
- If the existing joist hangers are undersized or corroded, reinforce each with an engineered-lumber joist hanger. Slip the engineered-lumber joist hanger over the existing hanger and secure it with galvanized hanger nails.
Attaching The Ledger Board
Install The Waterproofing Flashing
Set The Board In Place
Because a ledger board is heavy and hard to work with, you need to drive framing nails (16 penny) or screws every two feet to attach the ledger temporarily.
Do not drive the structural lag screws at this time because you do not want them to get in the way of the joists you will install later. DO NOT install the joists until the ledger is bolted in place.
Measure Siding For A Cutout
After properly installing the flashing, install the siding above the ledger as needed. Make sure the bottom of the siding will be at the desired height to the decking.
If, for example, you want the bottom of the siding to be 1/4 inch above the decking, which will be 1-inch thick, you’ll rip-cut a spacer board to 1 1/4-inches thick.
Slip The Siding Board Behind Siding
Slip the siding up under the siding board above. You may need to pry the upper board out a bit, and you may need to remove some nails. Use the 1-1/4″ spacer board to position the siding correctly and drive nails to fasten it.
Now it’s time to lay out the joists on the ledger.
Attaching Decking With The Ledger Board
After the ledger has been laid out with the locations of the joists, drive the final structural fasteners.
In the past, deck builders used thick 1/2-inch lag screws into the solid house band. Now, 1/4-inch structural lag screws are better. The metal they are made of holds firmer and has a greater shear resistance than larger screws.
Besides, there is no need to predrill pilot holes.
The spacing of your structural screws depends on the type of house rim you are attaching your deck to and the entire length of the joists. Never install a ledger board with nails, as these are not designed for this purpose and withdraw over time.

Block Joists From Inside The House
This is crucial to properly attach a ledger board, especially in homes with engineered trusses.
The problem with engineered trusses used as rim joists is that they do not provide a solid surface to bolt the ledger into dimensional lumber. So you must install extra blocking yourself between each joist.
Go down into the basement and get the exact measurement between joists, cut some 2×8, and fit it into place between the joists to rest on top of the sill plate.
Screw the 2x8s into the top and bottom edges of the rim joist. This is crucial because all the force of the wood deck will transfer to these points.
Attaching Decking Problems
Making sure the ledger board is not held in place just by nails is crucial, but it’s not the only thing you’ll need to do to ensure your deck is safe.
A professional evaluation of an existing deck’s ledger connection to the structure is strongly recommended, especially for elevated decks. Even if the deck ledger is connected with bolts or lag screws, they need to be installed correctly to the house floor band joist.
- Using the right 1/2" diameter lag screws
- Make sure the spacing between the lag screws are correct
- Install lag screws of the proper length
- Make sure the ledger board is treated
Attaching Decking With A Professional
The most important part of having a contractor attach your deck is that they will do it properly.
This means making sure the ledger board is attached securely to the house and that the joists are spaced correctly. Professionals install the metal flashing properly and ensure the deck joists are blocked from the inside of the house.
If the deck and the deck boards are elevated above ground level, it is essential to have a professional evaluation of the ledger connection to make sure it is done correctly. An evaluation ensures your outdoor space is safe for your loved ones and ready to host the best gatherings.
Besides, hiring a professional builder means you won’t have to deal with obtaining the building permit and going back and forth building inspections.
Conclusion
If you’re considering having your deck attached to house, it’s important to remember that this is not a DIY project.
It requires a good amount of skill and expertise to install everything correctly.
If the deck’s connection with the house is made improperly, it could lead to serious injuries and costly mistakes.
Have a qualified contractor work on this project, and it’ll save you a lot of stress and worry. A professional deck builder has the right tools and experience to ensure your project turns out exactly as you envisioned it.
Here at DeckBros, our experts are always ready to step in and lend a hand. Dedication makes our work top-notch, and it’s what recommends us all over Omaha. We strive to exceed every expectation about our craft and ensure a long-lasting deck that will create the best stories to tell!
Get in touch today and make your outdoor space part of your home with a safe and easy installation!

